

Pourover 101: An Easy Introduction
The craft of making coffee by hand has seen a huge resurgence in the past few years. More and more people are moving away from their drip coffee makers to manual methods of making coffee. It not only gives consumers greater control over how their coffee is made, but also brings a couple minutes of focus and attention to a process that has been practiced for decades.
The word “Pourover” makes me cringe sometimes. It is such a simple process and yet the presentation of a Pourover, in your local coffee shop, may cause you to think that there is some kind of complex science behind your morning cup. While the barista behind the bar might obsess over their technique and their attention to detail, it really does not have to be an intimidating or complicated process.
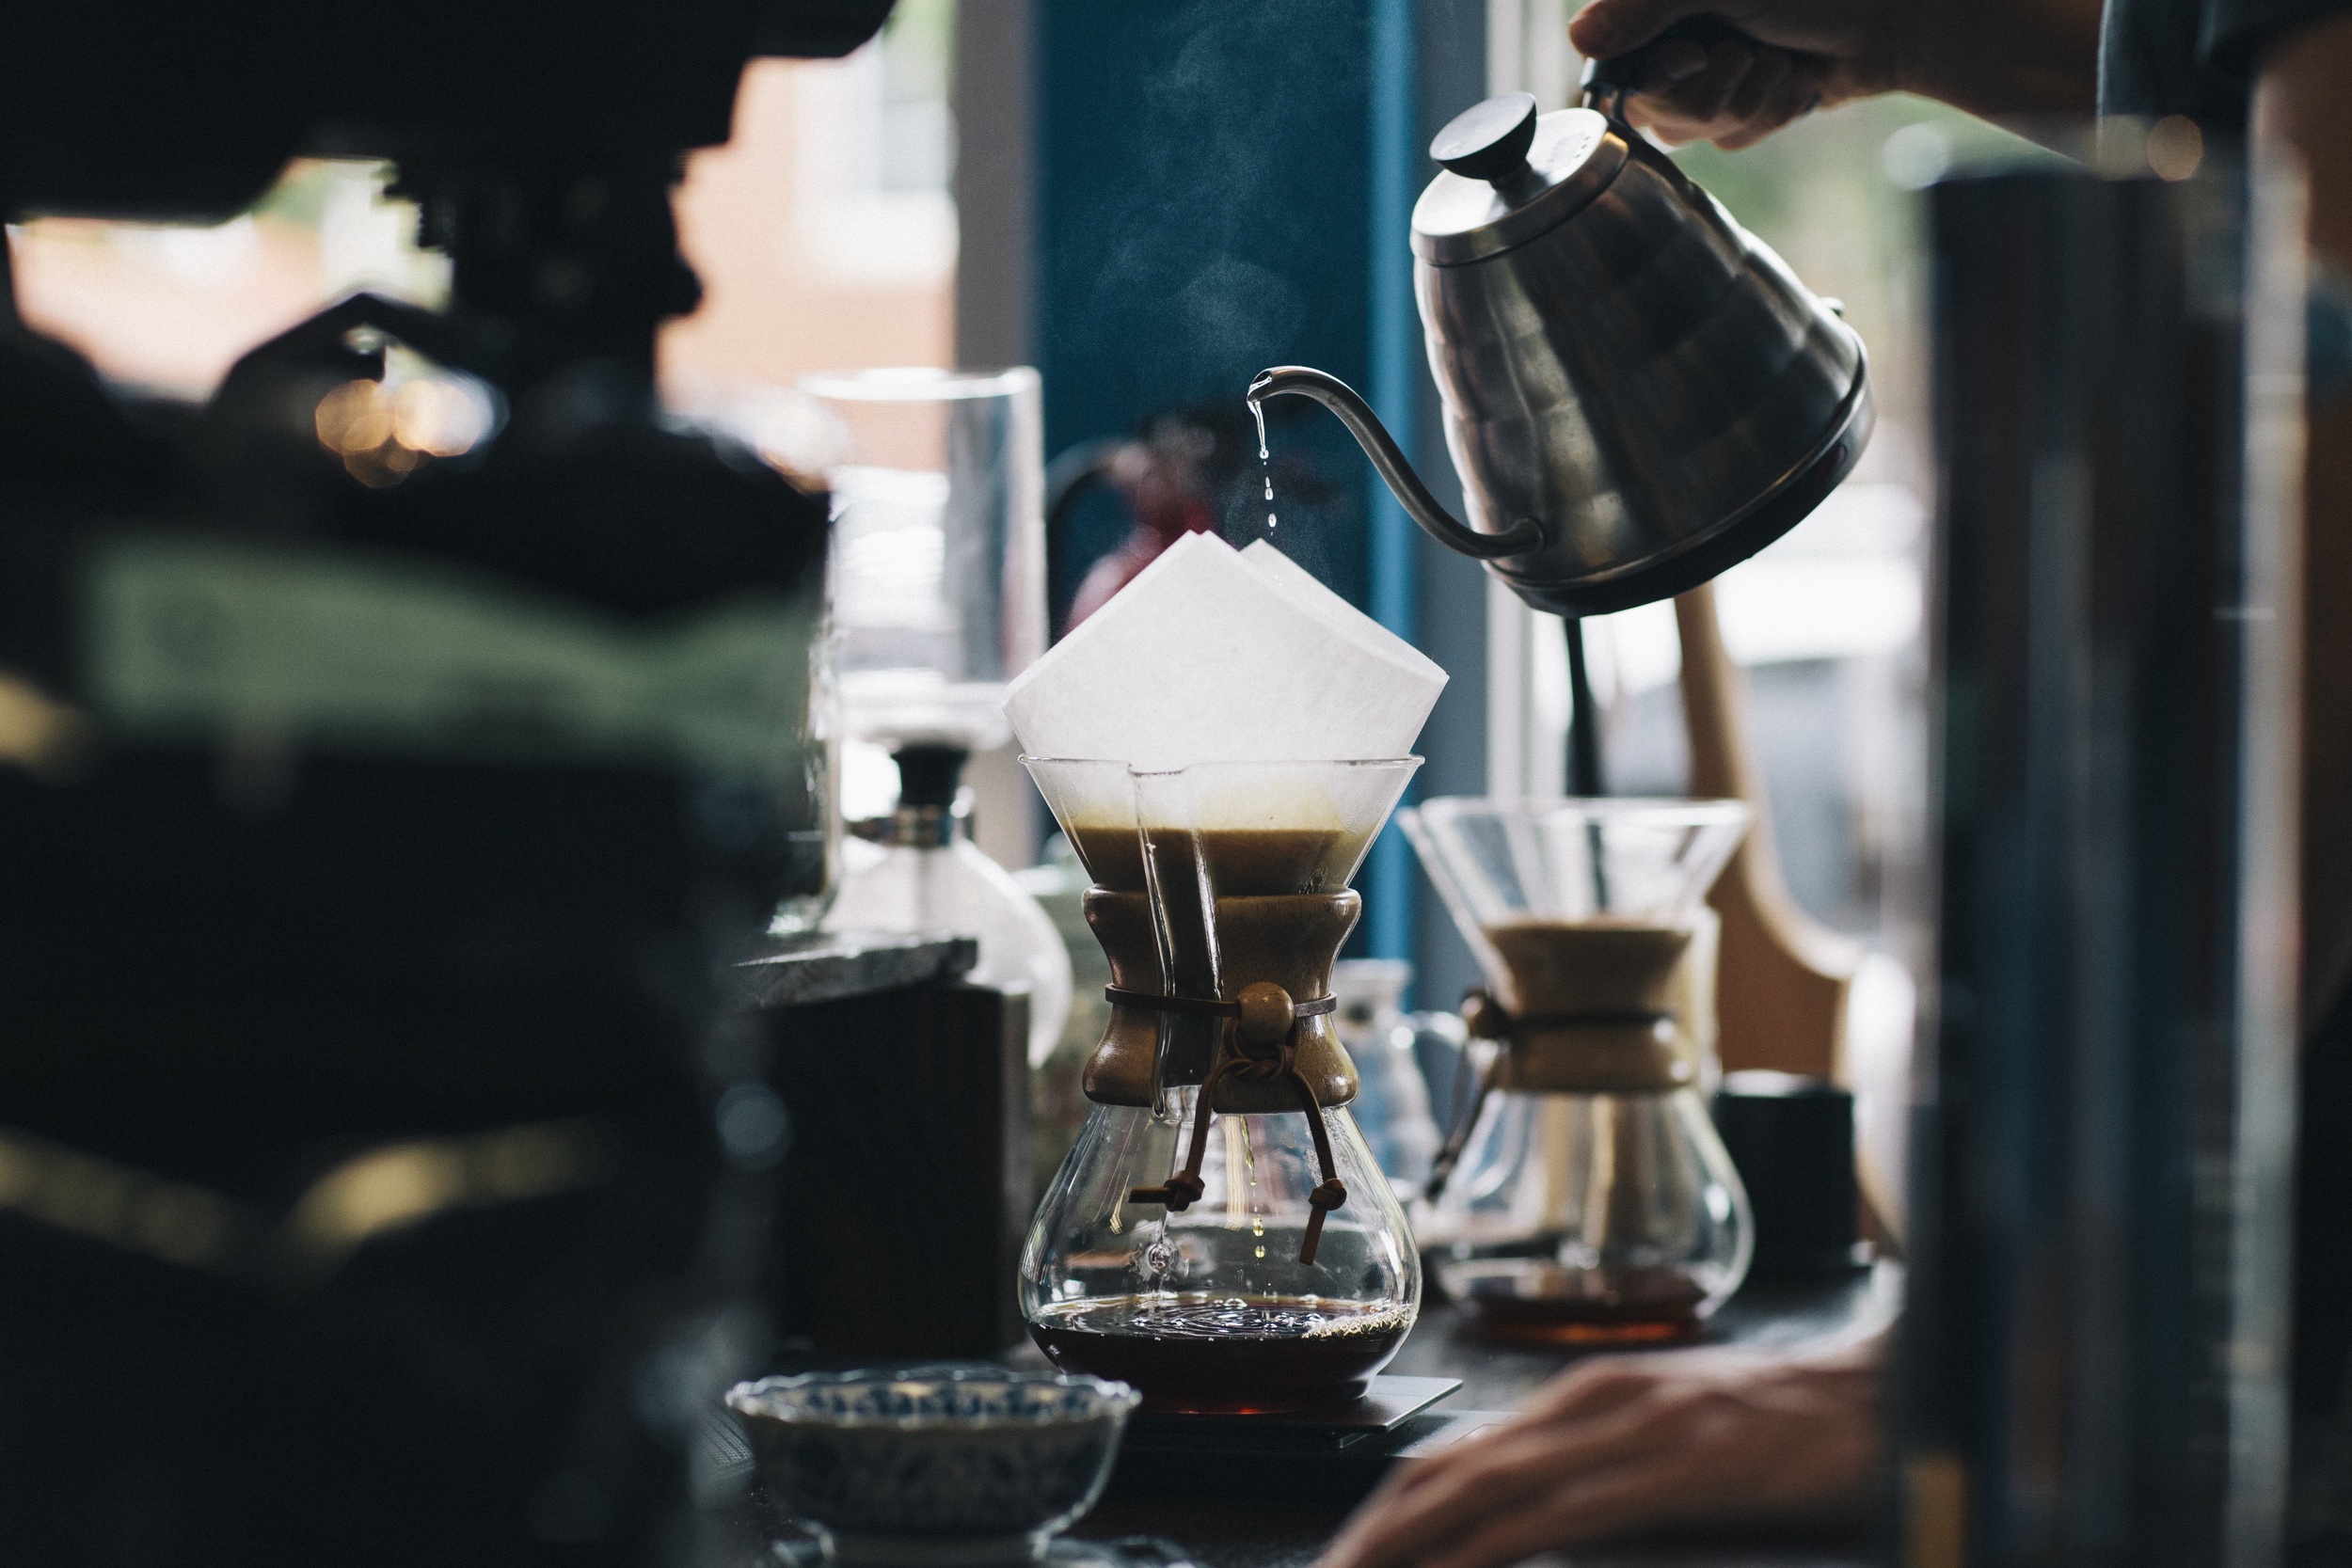
Brewing a nice Chemex, our prefered choice of brewing methods.
What is a Pourover?
Making a Pourover coffee in its most basic terms is pouring hot water over a bed of coffee. Just like your coffee maker takes hot water and pours it over your coffee grounds in the morning, making a Pourover is recreating that process but with better control of the outcome. You can boil the same amount of water on a kettle, use the same amount of coffee and the same exact filter to achieve a significantly better result than the coffeemaker. Even the most expensive and well designed coffeemaker with fail in comparison to a Pourover, and here is why:
it's all about control.
The key to making a great cup of coffee is even-extraction. Being able to distribute water evenly throughout the bed of coffee grounds will give you a better and a more consistent cup of coffee. This is where your countertop coffeemaker fails. When your coffeemaker is running, it is rushing to heat up the water and disperse it as quickly as possible. Many coffee makers tend to heat up water to inconsistent temperatures, which lends itself to an uneven extraction from the coffee. When water is dispersed onto the grounds through a nozzle head it usually does not hit all of the grounds evenly. So one corner of your coffee basket might have some over-extracted grounds that had too much water, while other areas just did not get enough. When this happens you get a cup of coffee that won't taste as good as it could. I've used $20 machines, and even some nice machines that cost upwards of $350. They all suffer from these flaws and the only way around it is to create a Pourover by hand.
The Pourover Basics:
No matter what type of Pourover brewer you use (Kalita, Chemex, AeroPress etc) they all do the same thing and follow a basic outline:
1. Coffee and water

We recommend that you start out using 1 1/2 to 2 tablespoons of coffee for every eight ounces of water. Some like it stronger, and others weaker, but the general goal is to create a coffee to water ratio of one part coffee to fifteen parts water. Since we are keeping things as simple as possible, it is easier to think with tablespoons and cups of water. Follow these instructions and you will be well on your way to a great cup of coffee!
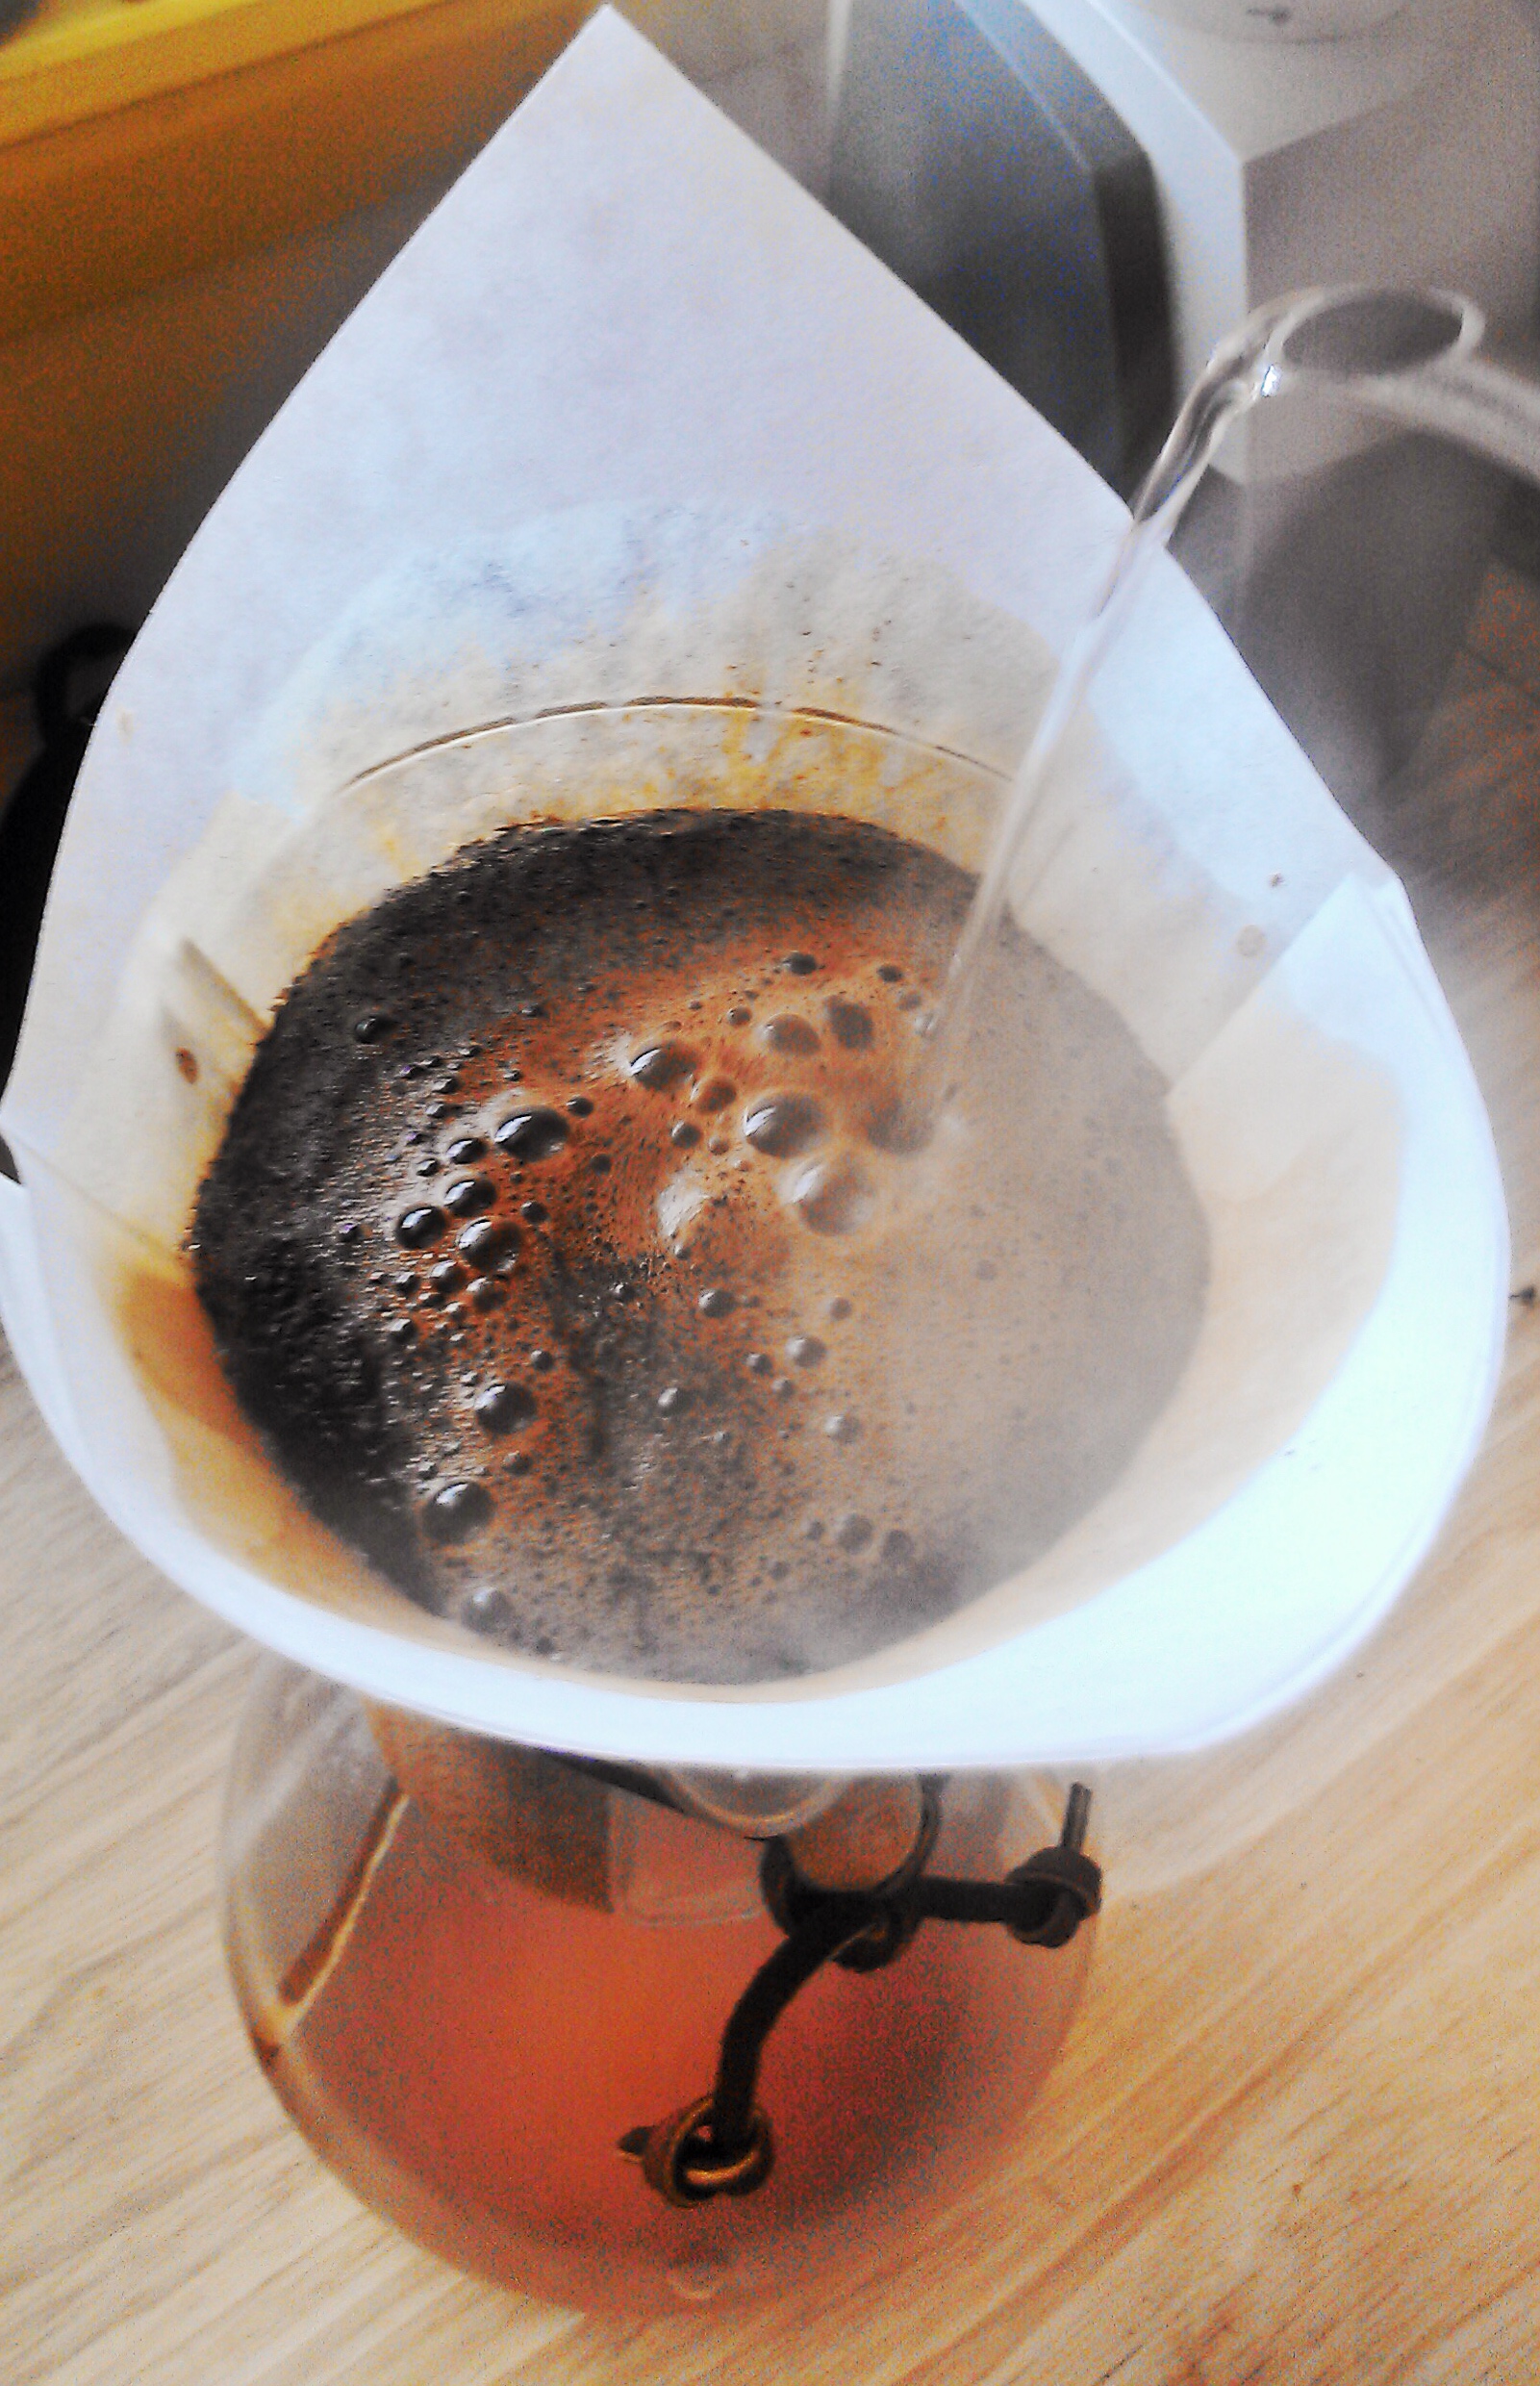
2. Bloom (15-30 seconds)
Did you know that coffee has CO2 in it? Well now you know. When your beans are ground up they off gas some Co2 which some say can effect the taste of the coffee. It is definitely up for debate among coffee researchers as to whether this is true or not but it is a generally accepted practice to have a beginning bloom before your brew.
Begin your Pourover by pouring just enough hot water to soak your coffee grounds. Let them rest for 15-30 seconds depending on your brewing method. Fun fact, it is called a bloom because as you let it rest the coffee tends to expand as it releases CO2 particles into the air.
3. Pour
Pour your water slow and steady. The goal is to evenly distribute your water over the bed of coffee grounds continuously until you have poured all of the water. it might take a few minutes if you are brewing a full pot, but try to go nice and slow. It's not about speed, but consistency.
4. Rest
Once your water is poured let it all go through the grounds and the filter. Once all the water has seeped through take your filter and grounds out immediately. Your coffee is now ready to drink.
There are many devices and carafes on the market for making pour overs. Each one has their own unique spin on why it makes a better cup, but at the end of the day, your cup quality will come down to your coffee choice and your pour. It doesn't have to be overly complicated, and I find that taking a few minutes in my morning to think about the hands that grew, harvested and processed my coffee while I brew really helps me to appreciate it more.